
I personally don't have a DSLR (you couldn't bring one into a concert anyway without a Press badge) so I use my point & shoot SLR (I have a Canon Powershot SX10IS) while it's bigger than what a lot of people want, it meets the size requirement at a concert and takes great pictures and videos.
Here's an article from the NY Times on Concert Photography
By ROY FURCHGOTT
Glen DiCrocco Choose a skin tone and expose for the face, no matter what the color and direction of the light.
If you think it’s hard to play a Stevie Ray Vaughan-style guitar solo, try photographing one.
Capturing onstage images, whether it’s of an arena rock superstar or a middle school recital, poses difficult technical challenges. Intense spotlights, spangled costumes and exotic headgear all conspire to wreck your photos.
A concert photographer, Glen DiCrocco, who has shot artists such as Yes, Willie Nelson, Peter Wolf, Umphrey’s McGee and Kansas said “there is a lot about concert shooting that is feel.” But there are tricks to getting that feeling. Here are a few:
1) Lighten up. Most digital cameras let you adjust the ISO setting, a measure used to tell photographers how sensitive a film is to light. Films that need less light — and are better in darker locations, like, say a theater — have higher ISO numbers. By turning the ISO number higher for a digital camera, you get the same effect and suffer the same tradeoff: Higher ISO film is grainier, and higher ISO speeds shots in digital are noisier.
Mr. DiCrocco usually uses ISO 1000. “It makes shooting in low light much easier.” Better light-gathering lenses with low f-numbers also help. Mr. DiCrocco mostly uses prime lenses — not zoom lenses — because they are lighter weight, let in more light and cost less. He mostly uses a 50mm 1.4, a 35mm 2.0 or an 85mm 1.8. The goal, he said, is to shoot at 1/125 of a second or faster, “because you normally want to freeze the action without any motion blur.”
2) Scout it out.. “If it’s a place you can check out beforehand, do that. I like to know what kind of venue I am going into.” It’s even better if you can attend a rehearsal or sound check where they are trying out the lighting. That way you know just when your star will be in the spotlight and can be prepared for the photo. It also means that might get some special consideration from the AV Squad. “You can talk to the lighting guy and ask him, ‘Can you pump up the light here?’ It will make a big difference.”
3) Time it right. Know the band, play, performers or all three ahead of time. “It helps of course if you know the music, or the performance,” said Mr. DiCrocco. “It helps if you know when the lead singer walks over to the guitarist.” If shooting a completely unfamiliar event, there is another option. “The easiest thing is to just shoot endlessly,” said Mr. DiCrocco, “but then you come back with 800 shots to edit, and that’s no fun.”
4) Expose some skin. Stage lights tend to overlight what they hit and cast powerful shadows that obscure details. Don’t worry about that, just set the exposure to skin so you can capture the artist’s face. “On the Willie Nelson shot [above] I exposed for face or arm,” said Mr. DiCrocco. The biggest challenge is when the performer wears white, which usually photographs under spotlights as a featureless glowing blob. “Wait until the person isn’t in a very bright white spotlight,” said Mr. DiCrocco. Or, “Tell your kid to wear a different shirt.” Colored spots are less of a problem. “Your reds, violets, magentas, greens, they are all fine. Although, actually, green is not my favorite.”
Some white spotlights have a green tinge, which is a job for Photoshop. “You just have to correct that in post. Or wait for the lights to change.” Take a few shots, see check on the camera’s LCD how they look, then adjust as needed. Err on the side of underexposure. “I’d rather underexpose slightly,” Mr. DiCrocco said. “Once the detail is lost you can’t get anything back.”
5) Paint it black (and white). Black and white has two primary uses, said Mr. DiCrocco. One is to lend a gritty feeling to a shot. “If it’s a Tom Waits kind of guy, it lends itself to that kind of feeling.” But it can also help out in really low lighting. “In low light there is no color to speak of, so it makes much more sense to visualize it in black and white.” Photos under red light are especially hard to see and lend themselves well to black-and-white conversion, which he prefers to set in the camera rather than adding the effect later. “It gives you better sense of what is going on.”
6) Treat kids differently. It is actually more difficult to photograph kids than rock gods, said Mr. DiCrocco. “Professional musicians know how to move on stage, they do half of the work for you,” he said. One counterintuitive thing to try with nonpros is to take in more of the stage. “Shoot wider and closer to the stage to emphasize the action by showing four or five kids doing something instead of two,” said Mr. DiCricco. Keep the camera at your eye and keep shooting through the big scenes. “It is a matter of being more patient and thinking ahead about the big crescendo in the song or the big finale,” said Mr. DiCrocco. “There is a little more emotion and movement in those parts of the song,” he said, even for the stiffest of amateurs.
But he doesn’t mean your kids. Your kids are great.
Here are some of my tips.
- Your SD Card should be a minimum of 8 GB, if you intend on doing video make it a minimum of 16. Amazon has cheap SD cards. I like Transcends 16 GB ones.
- If you go see Bon Jovi learn to use the continuous setting on your camera. Jon does not stand in one place for long. You take 10 pictures and 3 of them are good, score, whereas if you took one at 1 moment, it may be blurry.
- Play with your camera in different light settings. Make sure you see a few minutes of the opening act to take some throw away pictures to adjust your light settings.
- You don't need a flash at a concert. If you did the light settings right you have no need of a flash.
- Buy spare batteries. It sucks to get the battery light in the middle of a song (unless its Who Says You Can't Go Home and then BONUS!). Amazon also has batteries if your camera takes lithium rechargeable (remember to get those in advance they need to be charged BEFORE the concert).
- Read the owners manual. Read reviews on-line. Use your camera before the concert. Take pictures of your dog, the tree on your front yard, a flickering candle at night. PRACTICE!
- Use the different settings. WANTED DEAD OR ALIVE SHOULD BE SHOT IN BLACK AND WHITE. I'm telling you this because it's true.
Here are a few concert shots I've taken over the years.
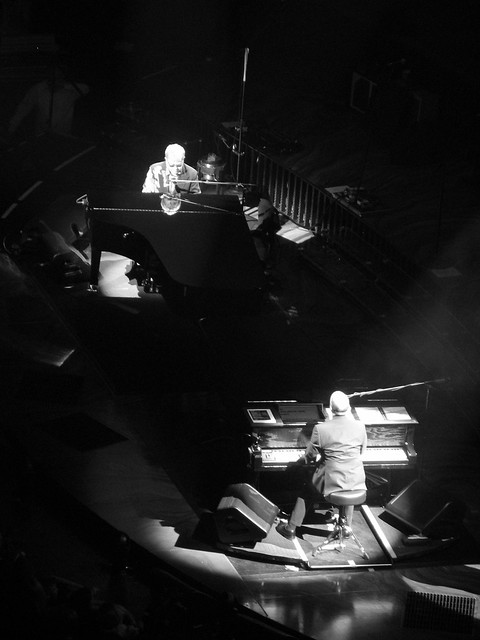 |
| Elton John & Billy Joel Face to Face 2009 |
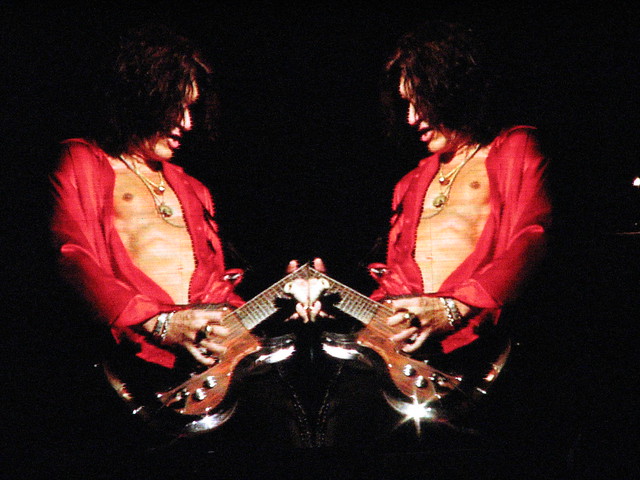 |
| Joe Perry from Aerosmith |
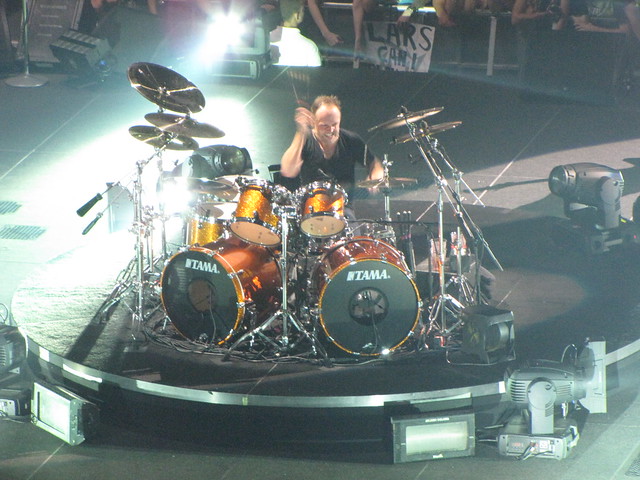 |
| Lars Ulrich from Metallica |
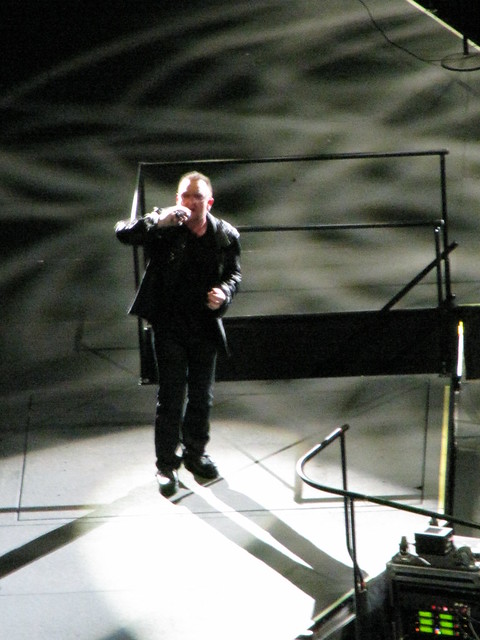 |
| Bono |

No comments:
Post a Comment